
Winged eyeliner is a classic makeup look that adds a bold touch to your eyes, making them appear larger and more defined. But getting that perfect, sharp wing can be tricky if you’re new to the technique. Don’t worry—whether you’re a beginner or a pro, this guide will help you master the art of the perfect winged eyeliner with powerful tips, recommended products, and their features. Plus, I’ll share some budget-friendly eyeliner options with prices, so you can get the look without breaking the bank!
1. Start with the Right Tools
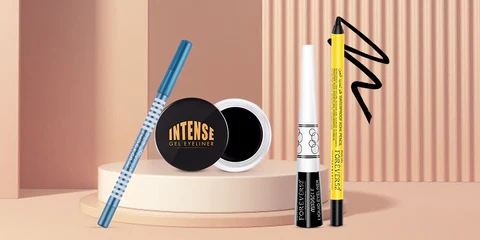
Liquid Eyeliner: Known for its precision and bold finish, liquid eyeliner is great for sharp lines and dramatic wings.
Gel Eyeliner: Provides a smoother texture that’s easier to blend, perfect for a softer look or more subtle wings.
Pencil Eyeliner: Best for beginners, it offers control and is easy to apply, but may not provide as sharp a line as liquid or gel eyeliners.
To get the perfect winged eyeliner, you’ll need the right tools. The type of eyeliner you choose plays a huge role in how easily you can create that sharp, defined wing. Let’s look at some popular types of eyeliners:
Tip: If you’re a beginner, I recommend starting with a pencil eyeliner for practice and gradually moving to liquid eyeliner as you get more comfortable.
2. Find Your Ideal Eyeliner
Here are some of the best eyeliners for creating that perfect wing:
1. Maybelline New York HyperSharp Wing Liquid Liner
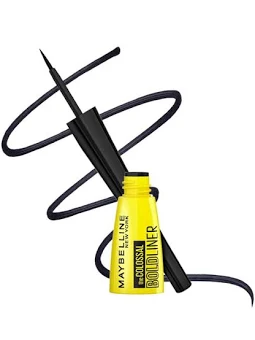
Features :
Super-fine tip for precise application
Smudge-proof formula
Long-lasting wear for up to 24 hours
2. L’Oréal Paris Super Liner Gel Intenza
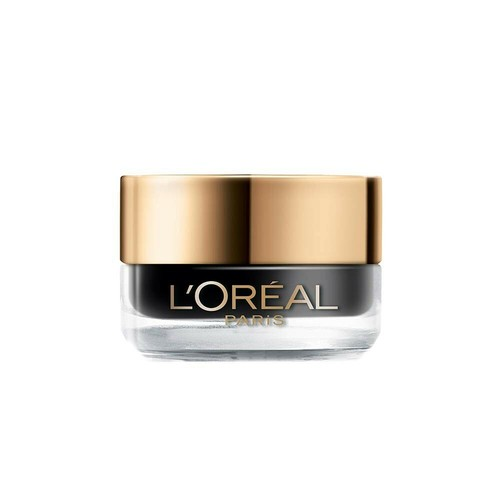
Feachers :
Gel formula that glides on smoothly
Can be used for both thin and thick wings
Waterproof and smudge-proof
3. Lakmé Eyeconic Kajal
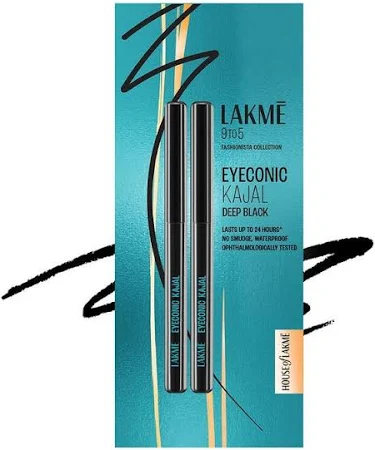
Features:
Soft pencil formula
Rich color payoff for bold looks
Easy to apply and great for beginners
4. Faces Canada Ultime Pro Gel Eyeliner
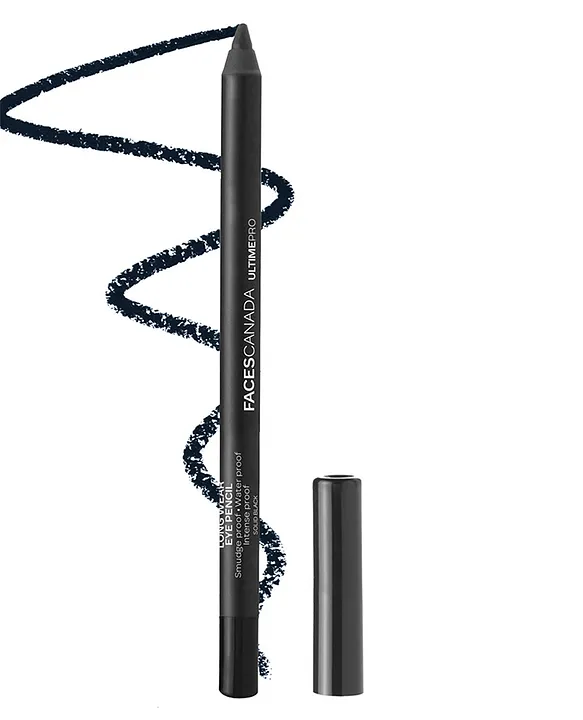
Features:
Gel consistency for smooth application
Intense color and long-lasting formula
Perfect for creating both sharp wings and softer looks
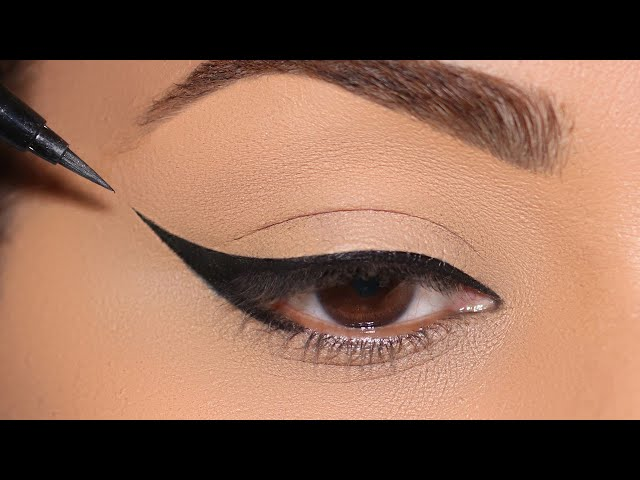
3. Follow These Simple Steps to Get the Perfect Winged Eyeliner

Now that you have your eyeliner ready, let’s go step by step on how to achieve that flawless wing:
Step 1: Prep Your Lids
Before applying any makeup, make sure your eyelids are clean and oil-free. Use an eyelid primer or just a bit of translucent powder to create a smooth base for the eyeliner to stick to. This will also help it last longer.
Step 2: Create a Guideline
Start by drawing a small line extending from the outer corner of your eye towards the tail of your eyebrow. This will be the base of your wing, and you can adjust the angle depending on how dramatic you want the wing.
Step 3: Draw the Wing
Using your eyeliner, draw a line from the outer corner of your eye towards the guideline you created. Once you have the shape, fill in the rest of the wing by drawing a line back towards your lash line. The key here is to make the line smooth and steady.
Pro Tip: If you’re unsure about the angle of your wing, place a piece of tape along the edge of your eye to create a sharp line. Remove the tape once you’re done!
Step 4: Connect the Wing to Your Lash Line
Once the wing is drawn, connect it to your upper lash line by drawing a thin line from the inner corner of your eye, following your natural lash line. Make sure the line is even and that it gradually thickens as it reaches the outer corner.
Step 5: Perfect the Shape
Check both eyes to ensure that the wings are symmetrical. If needed, you can clean up the edges with a cotton swab dipped in makeup remover to sharpen them. Don’t worry if they aren’t perfect at first—it takes practice!
4. Enhance the Look with Mascara
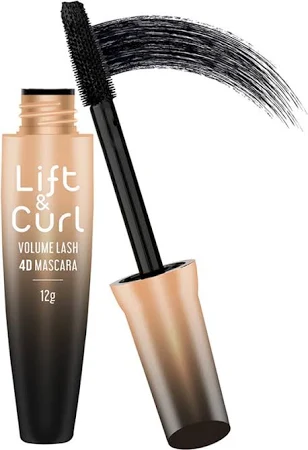
Once your eyeliner is on point, finish the look with a coat of mascara. This will make your eyes appear bigger and more dramatic, perfectly complementing the winged eyeliner.
5. Pro Tips for Perfect Winged Eyeliner
- Practice Makes Perfect: The more you practice, the easier it becomes to draw your winged eyeliner quickly and flawlessly.
- Use Small Strokes: If you find it difficult to get a smooth line, use short strokes instead of trying to draw a long line in one go.
- Adjust the Thickness: Depending on the look you’re going for, you can make your wing thinner or thicker. Experiment with different shapes!
- Keep Q-tips Handy: For any mistakes or to clean up the edges, use a cotton swab dipped in makeup remover to fix your lines.
Product Details
| Product Name | Type | Features | Price | Best For |
|---|---|---|---|---|
| Maybelline New York HyperSharp Wing Liquid Liner | Liquid Eyeliner | – Super-fine tip for precise application – Smudge-proof formula – Long-lasting wear (up to 24 hours) | ₹299 | Perfect for beginners, precise lines |
| L’Oréal Paris Super Liner Gel Intenza | Gel Eyeliner | – Smooth gel texture – Waterproof and smudge-proof – Can create both thin and thick lines | ₹799 | Ideal for both sharp wings and soft looks |
| Lakmé Eyeconic Kajal | Pencil Eyeliner | – Soft pencil formula – Rich color payoff – Long-lasting (up to 10 hours) | ₹225 | Great for beginners, softer lines |
| Faces Canada Ultime Pro Gel Eyeliner | Gel Eyeliner | – Gel consistency for smooth application – Intense color – Waterproof, smudge-proof | ₹599 | For dramatic, long-lasting wings |
Mastering the perfect winged eyeliner is all about practice, patience, and the right products. With the tips and product recommendations above, you can achieve a flawless wing every time. Whether you go for a subtle wing or a bold cat-eye look, winged eyeliner is sure to elevate your makeup game. So, pick the eyeliner that works best for you, follow these steps, and you’ll be rocking the perfect wing in no time!
The information provided in this blog is intended for general informational purposes only. While every effort has been made to ensure the accuracy of the product details, features, and prices mentioned, they may vary based on location, availability, or time of purchase.
#WingedEyeliner #PerfectWing #BeautyTips #EyelinerHacks #MakeupForBeginners #BoldEyes #FlawlessLook #EyeMakeup #LiquidEyeliner #MakeupEssentials #BeautyOnABudget